 Sahand Nayebaziz
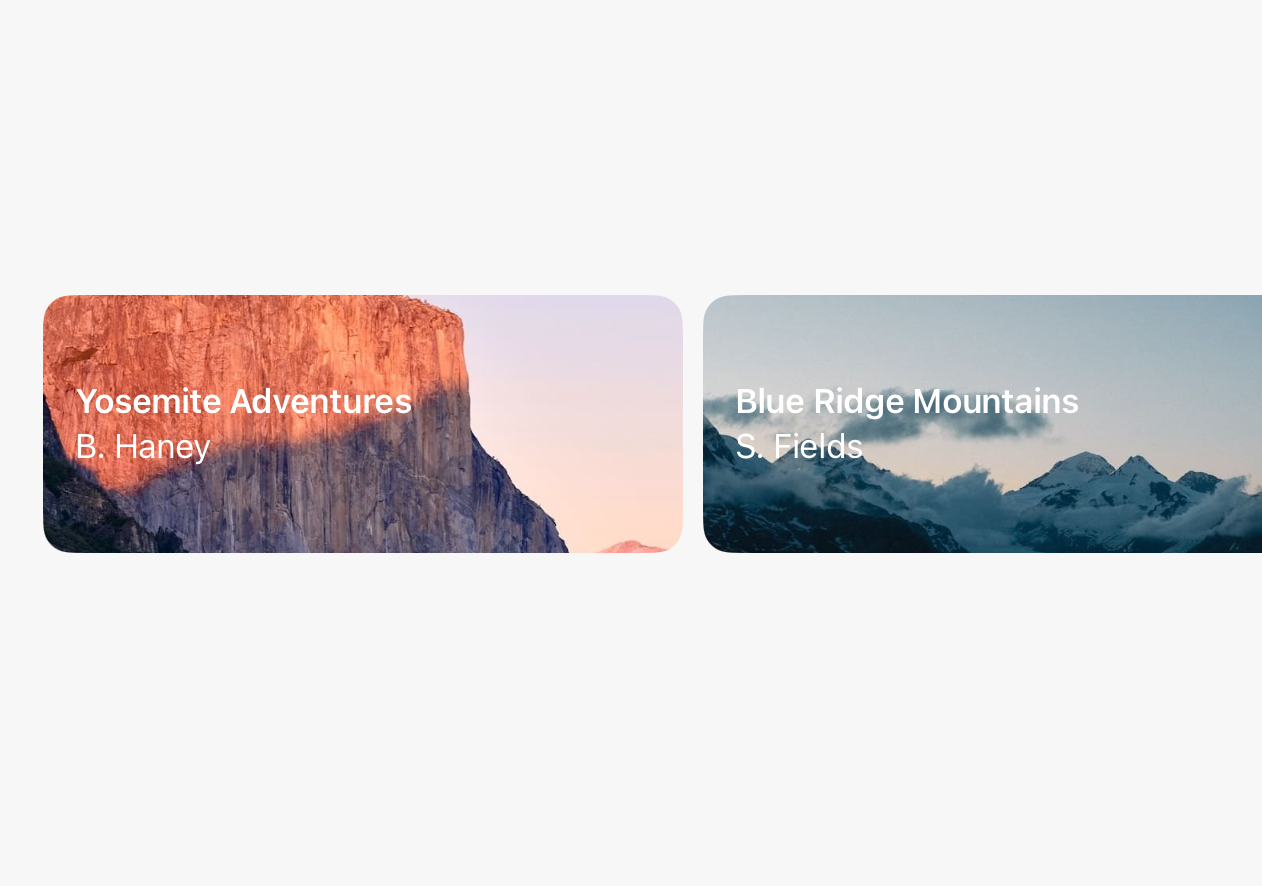
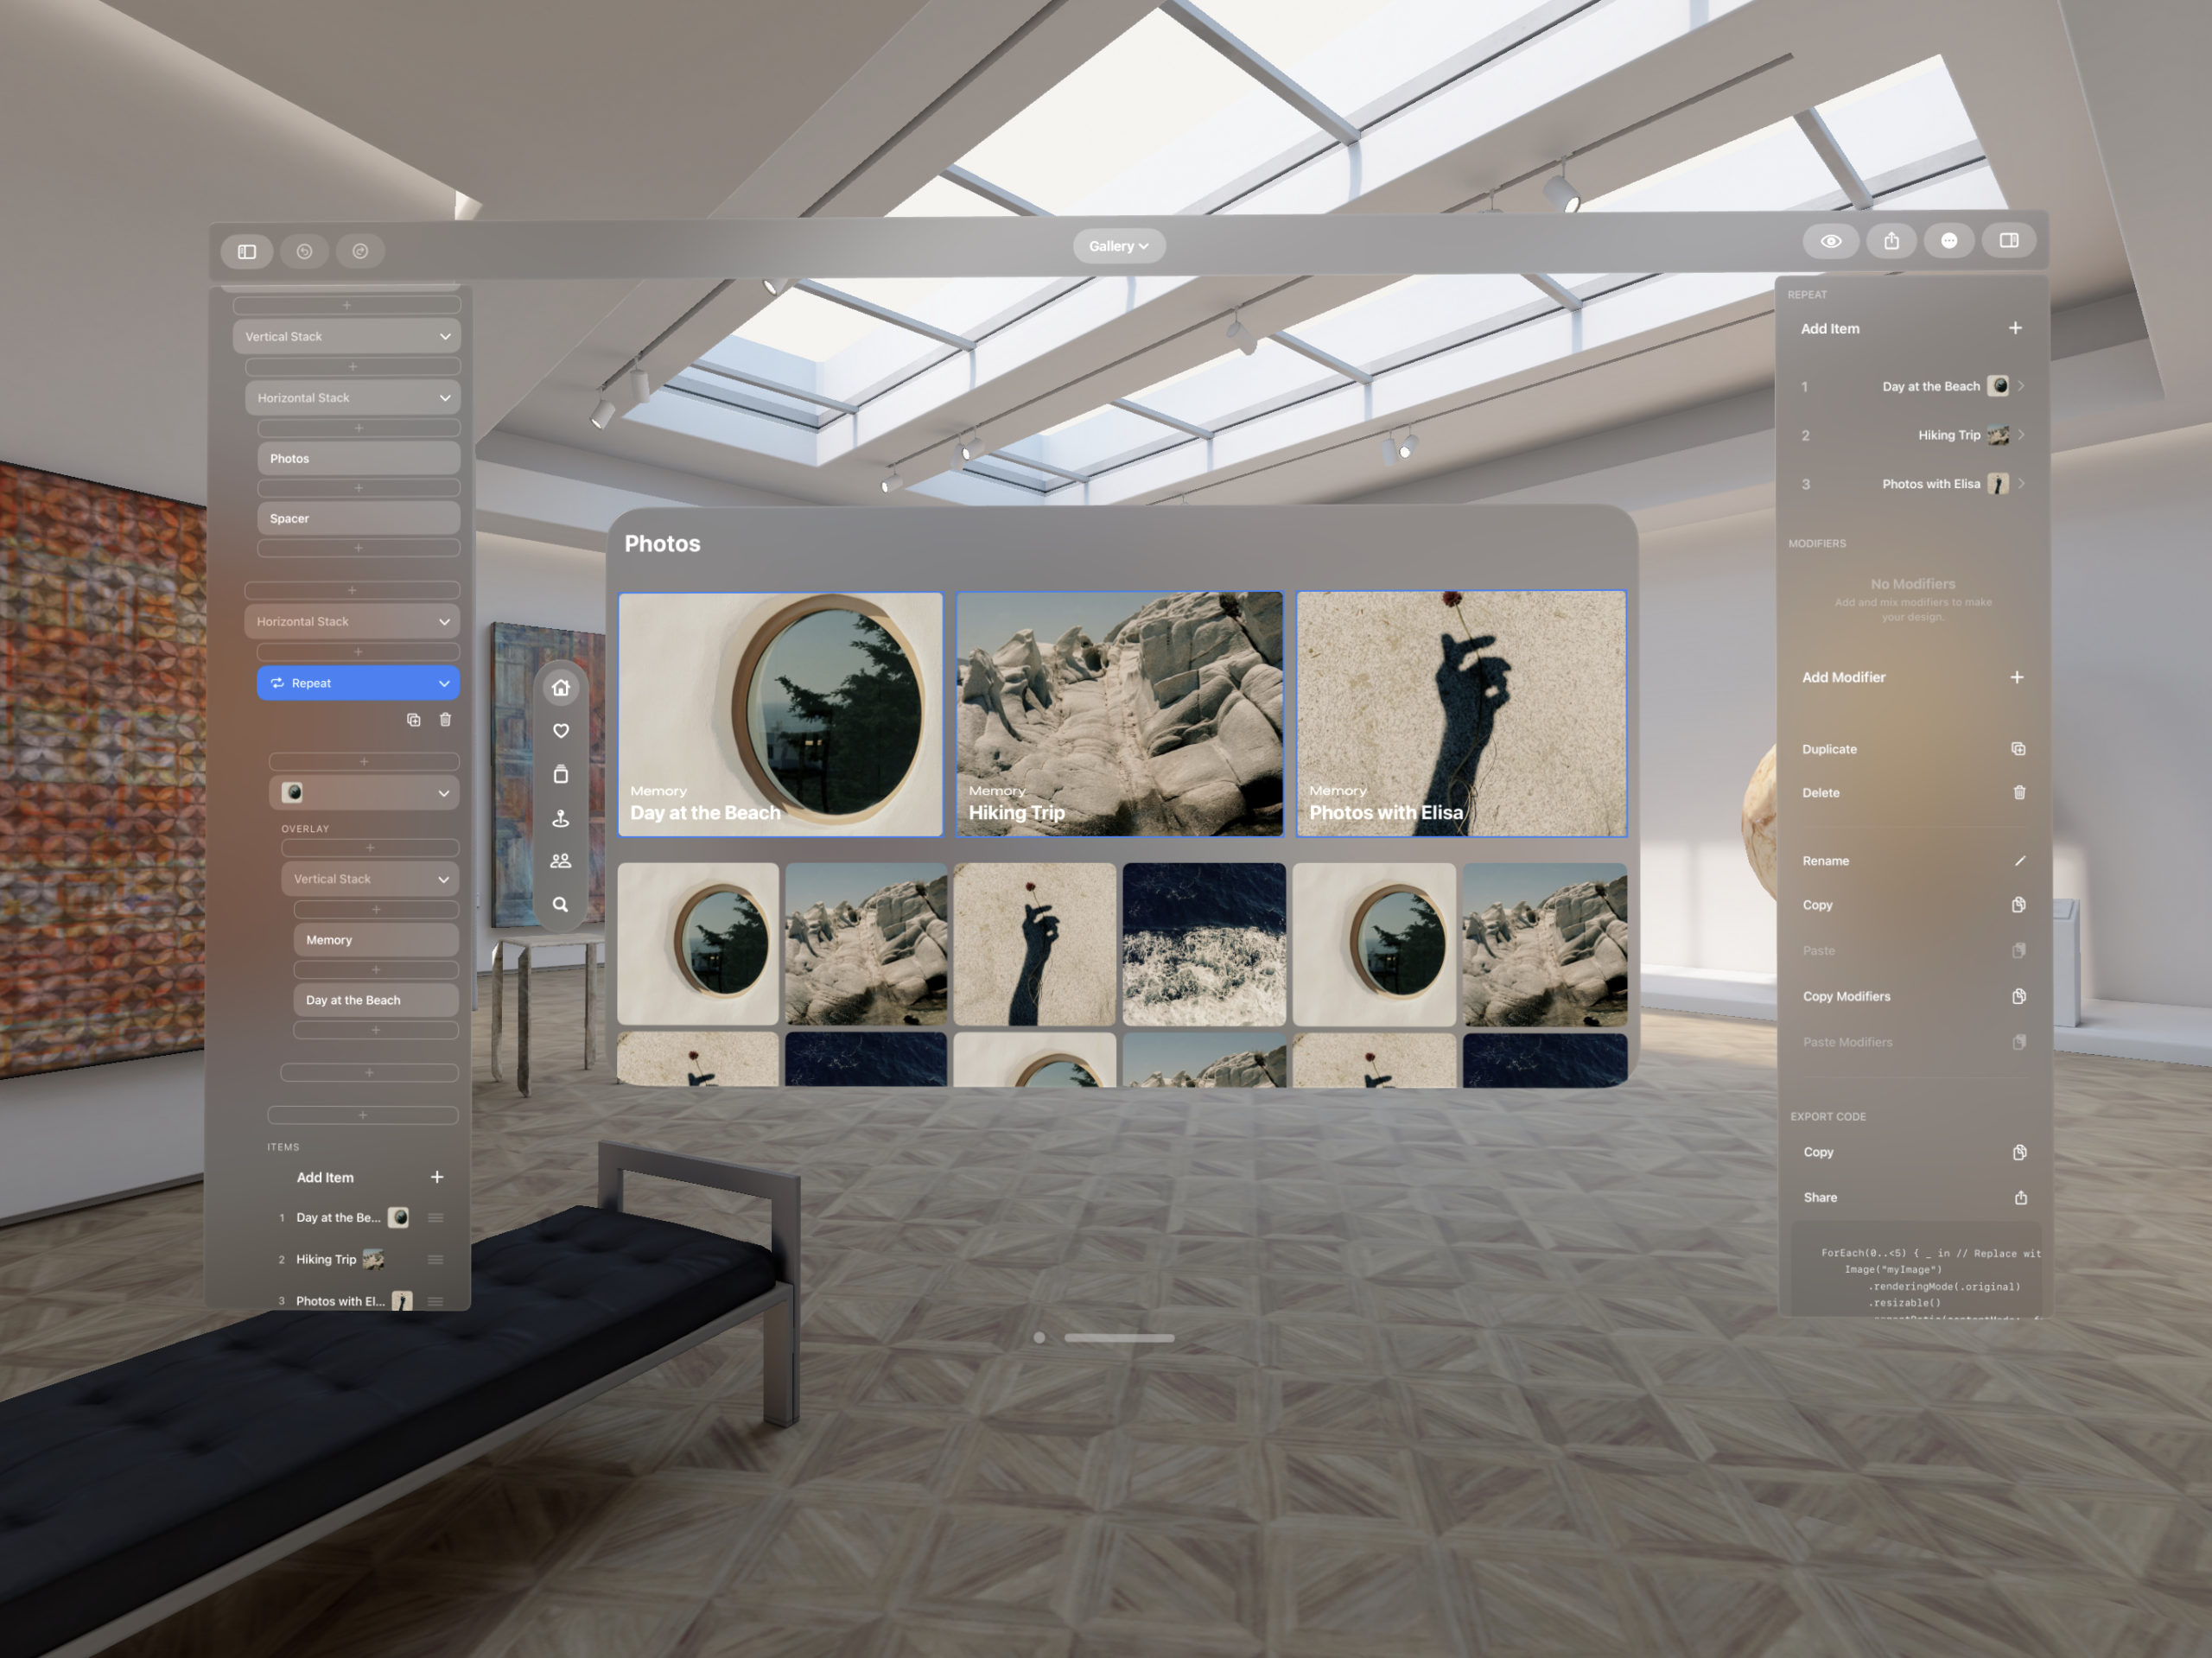
Designing a scrolling carousel is easy in DetailsPro. The main concepts at play are scrolling containers, horizontal stacks, and frames.
Scrolling containers are a type of element in SwiftUI that create a “scrolling window” where anything placed inside of them can be scrolled. Horizontal stacks arrange elements horizontally. Frames are a type of modifier that let you give things a specific size. We are going to make some cards, put them in a horizontal stack, and make them scroll!
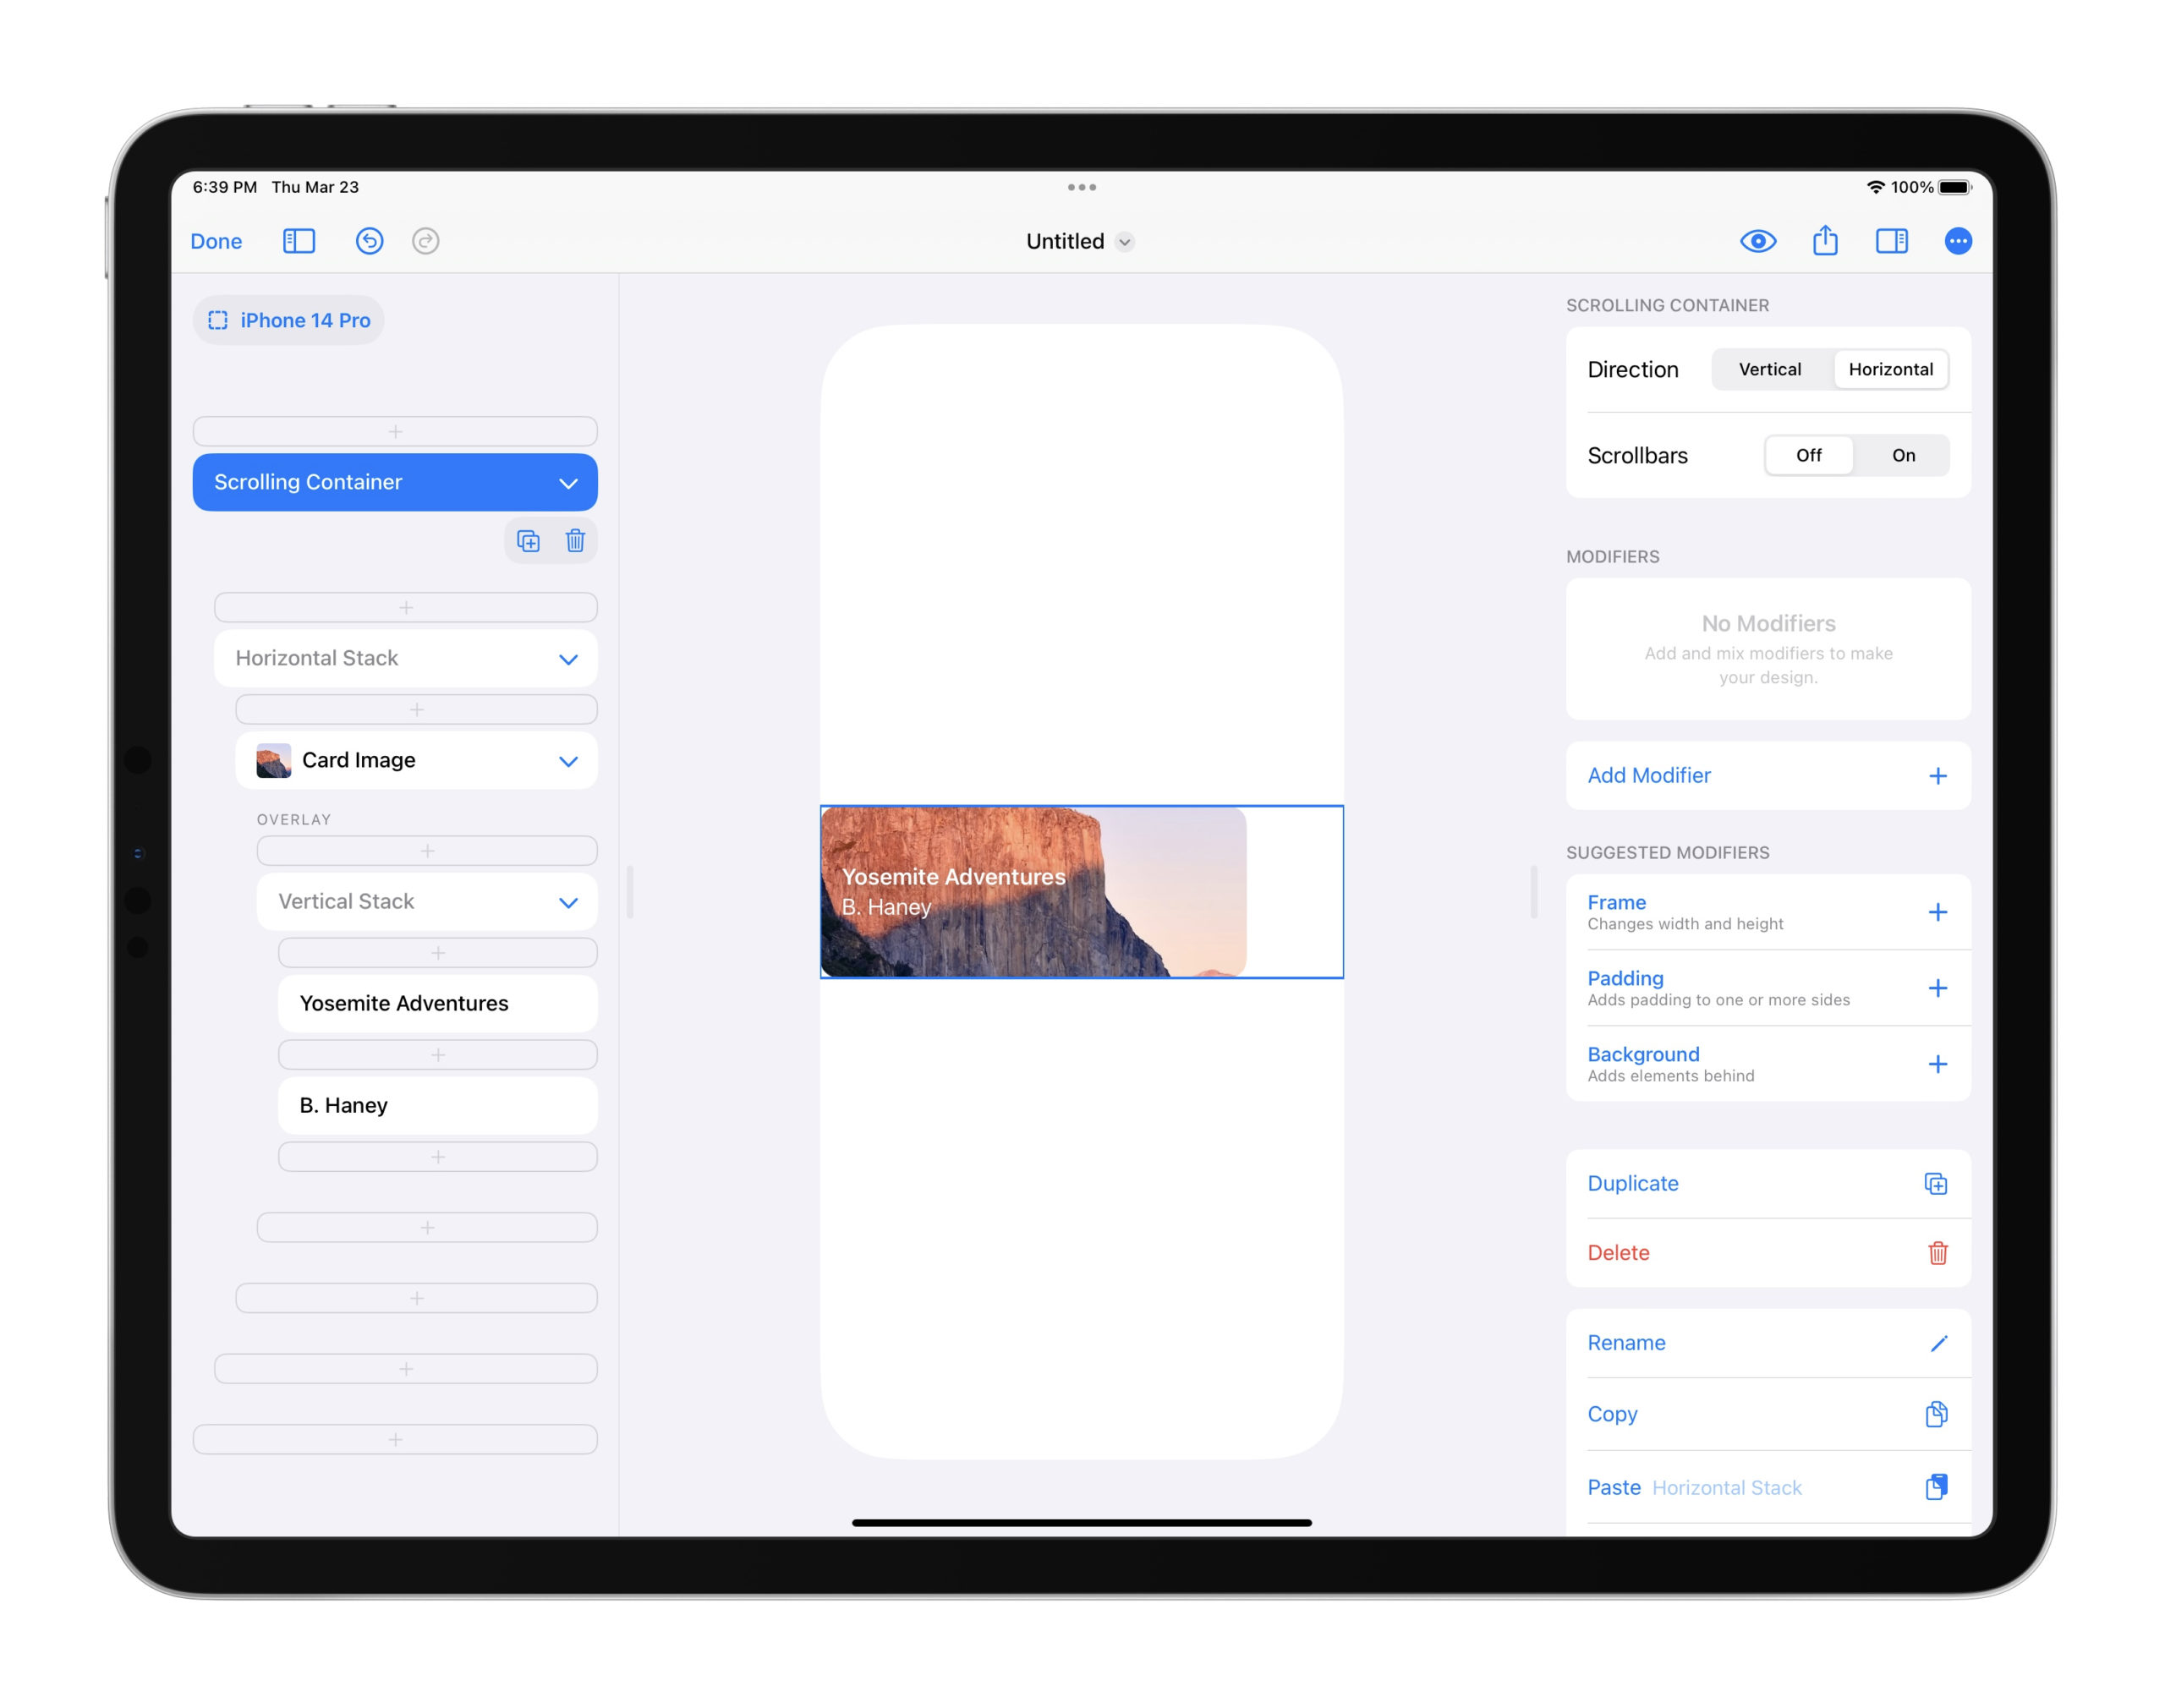
1. Start with a Card
We’ll want to start the actual element that is going to be in our scroll. We’ll make sure our element has a set width by giving it a Frame modifier and entering in a width value. This will be necessary because once we put this element into a horizontal scroll, we’ll need that width value to help the element stays uniform regardless of their content.
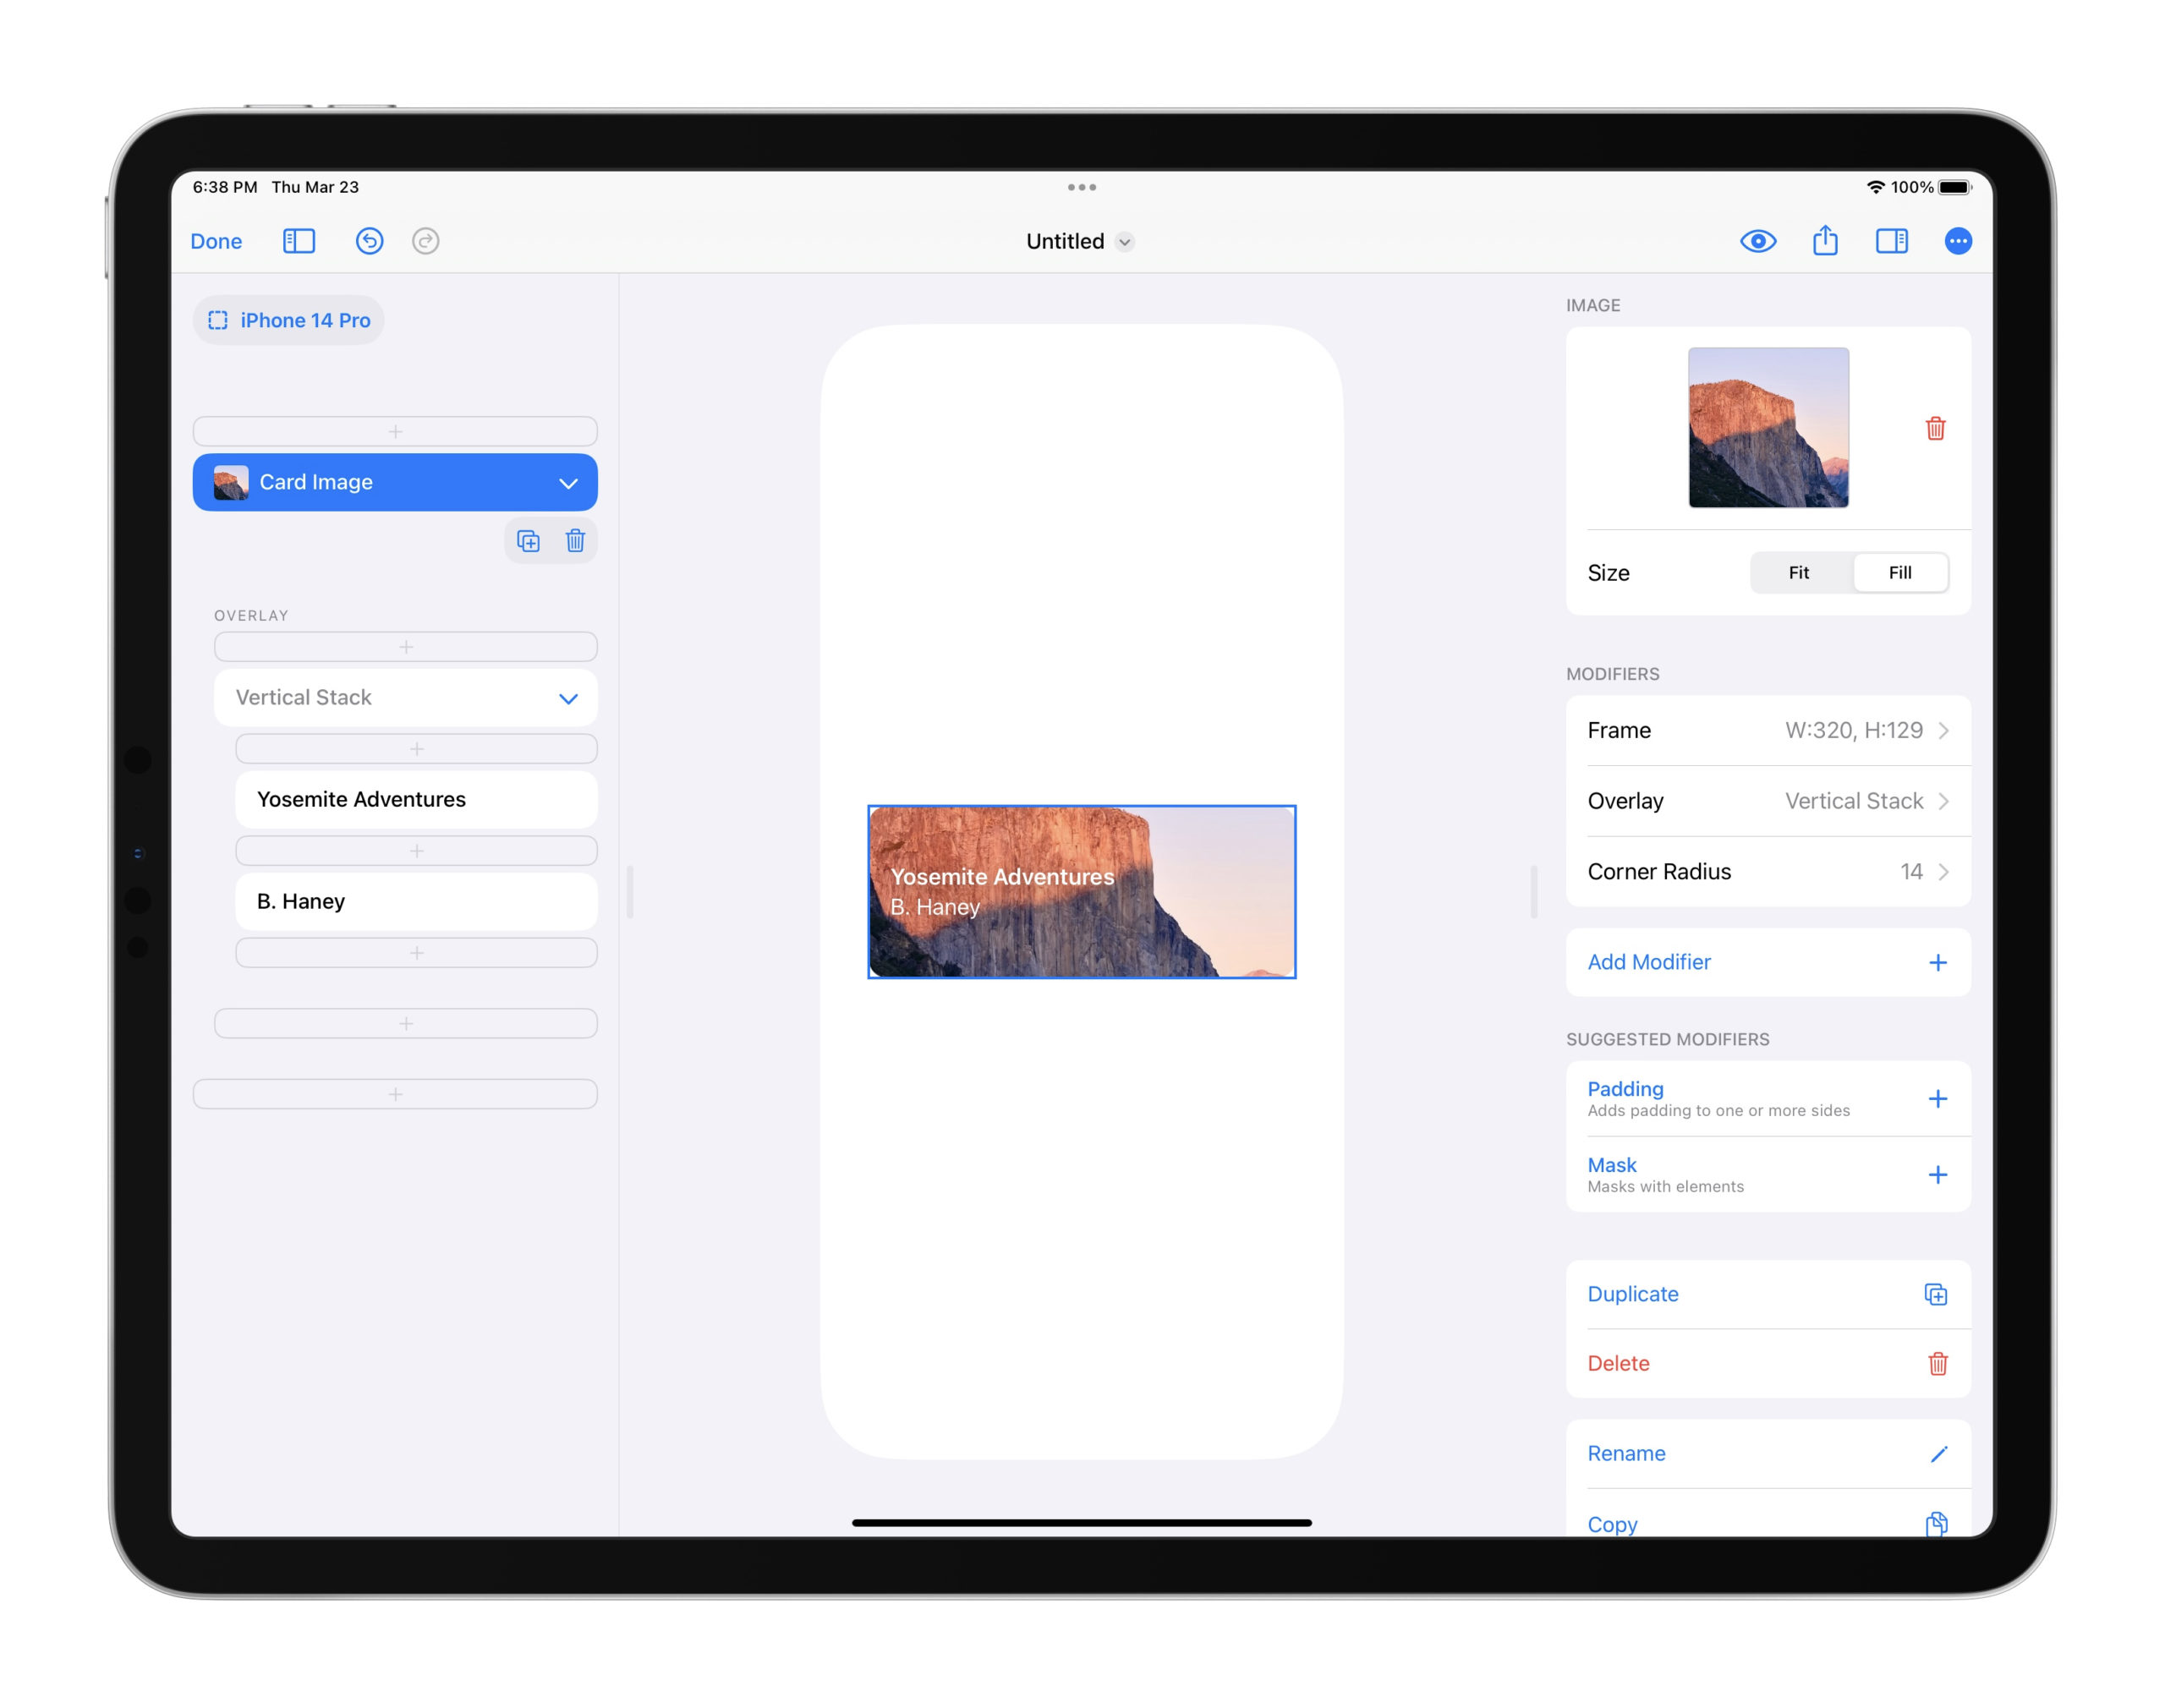
2. Wrap with a Horizontal Stack and then a Scrolling Container
Next, we’ll place our card into a new Horizontal Stack, and then place that Horizontal Stack into a Scrolling Container. We’ll also make sure the Scrolling Container has its direction set to “horizontal”. Pro-tip: If you use the “New Scroll with Item” action by long-pressing on an element, Scrolling Container will automatically set it’s direction for a Horizontal Stack to be horizontal.
Note: at this point, it’s normal for the card to be right up against the side of the phone. We’re going to fix this in the next step.
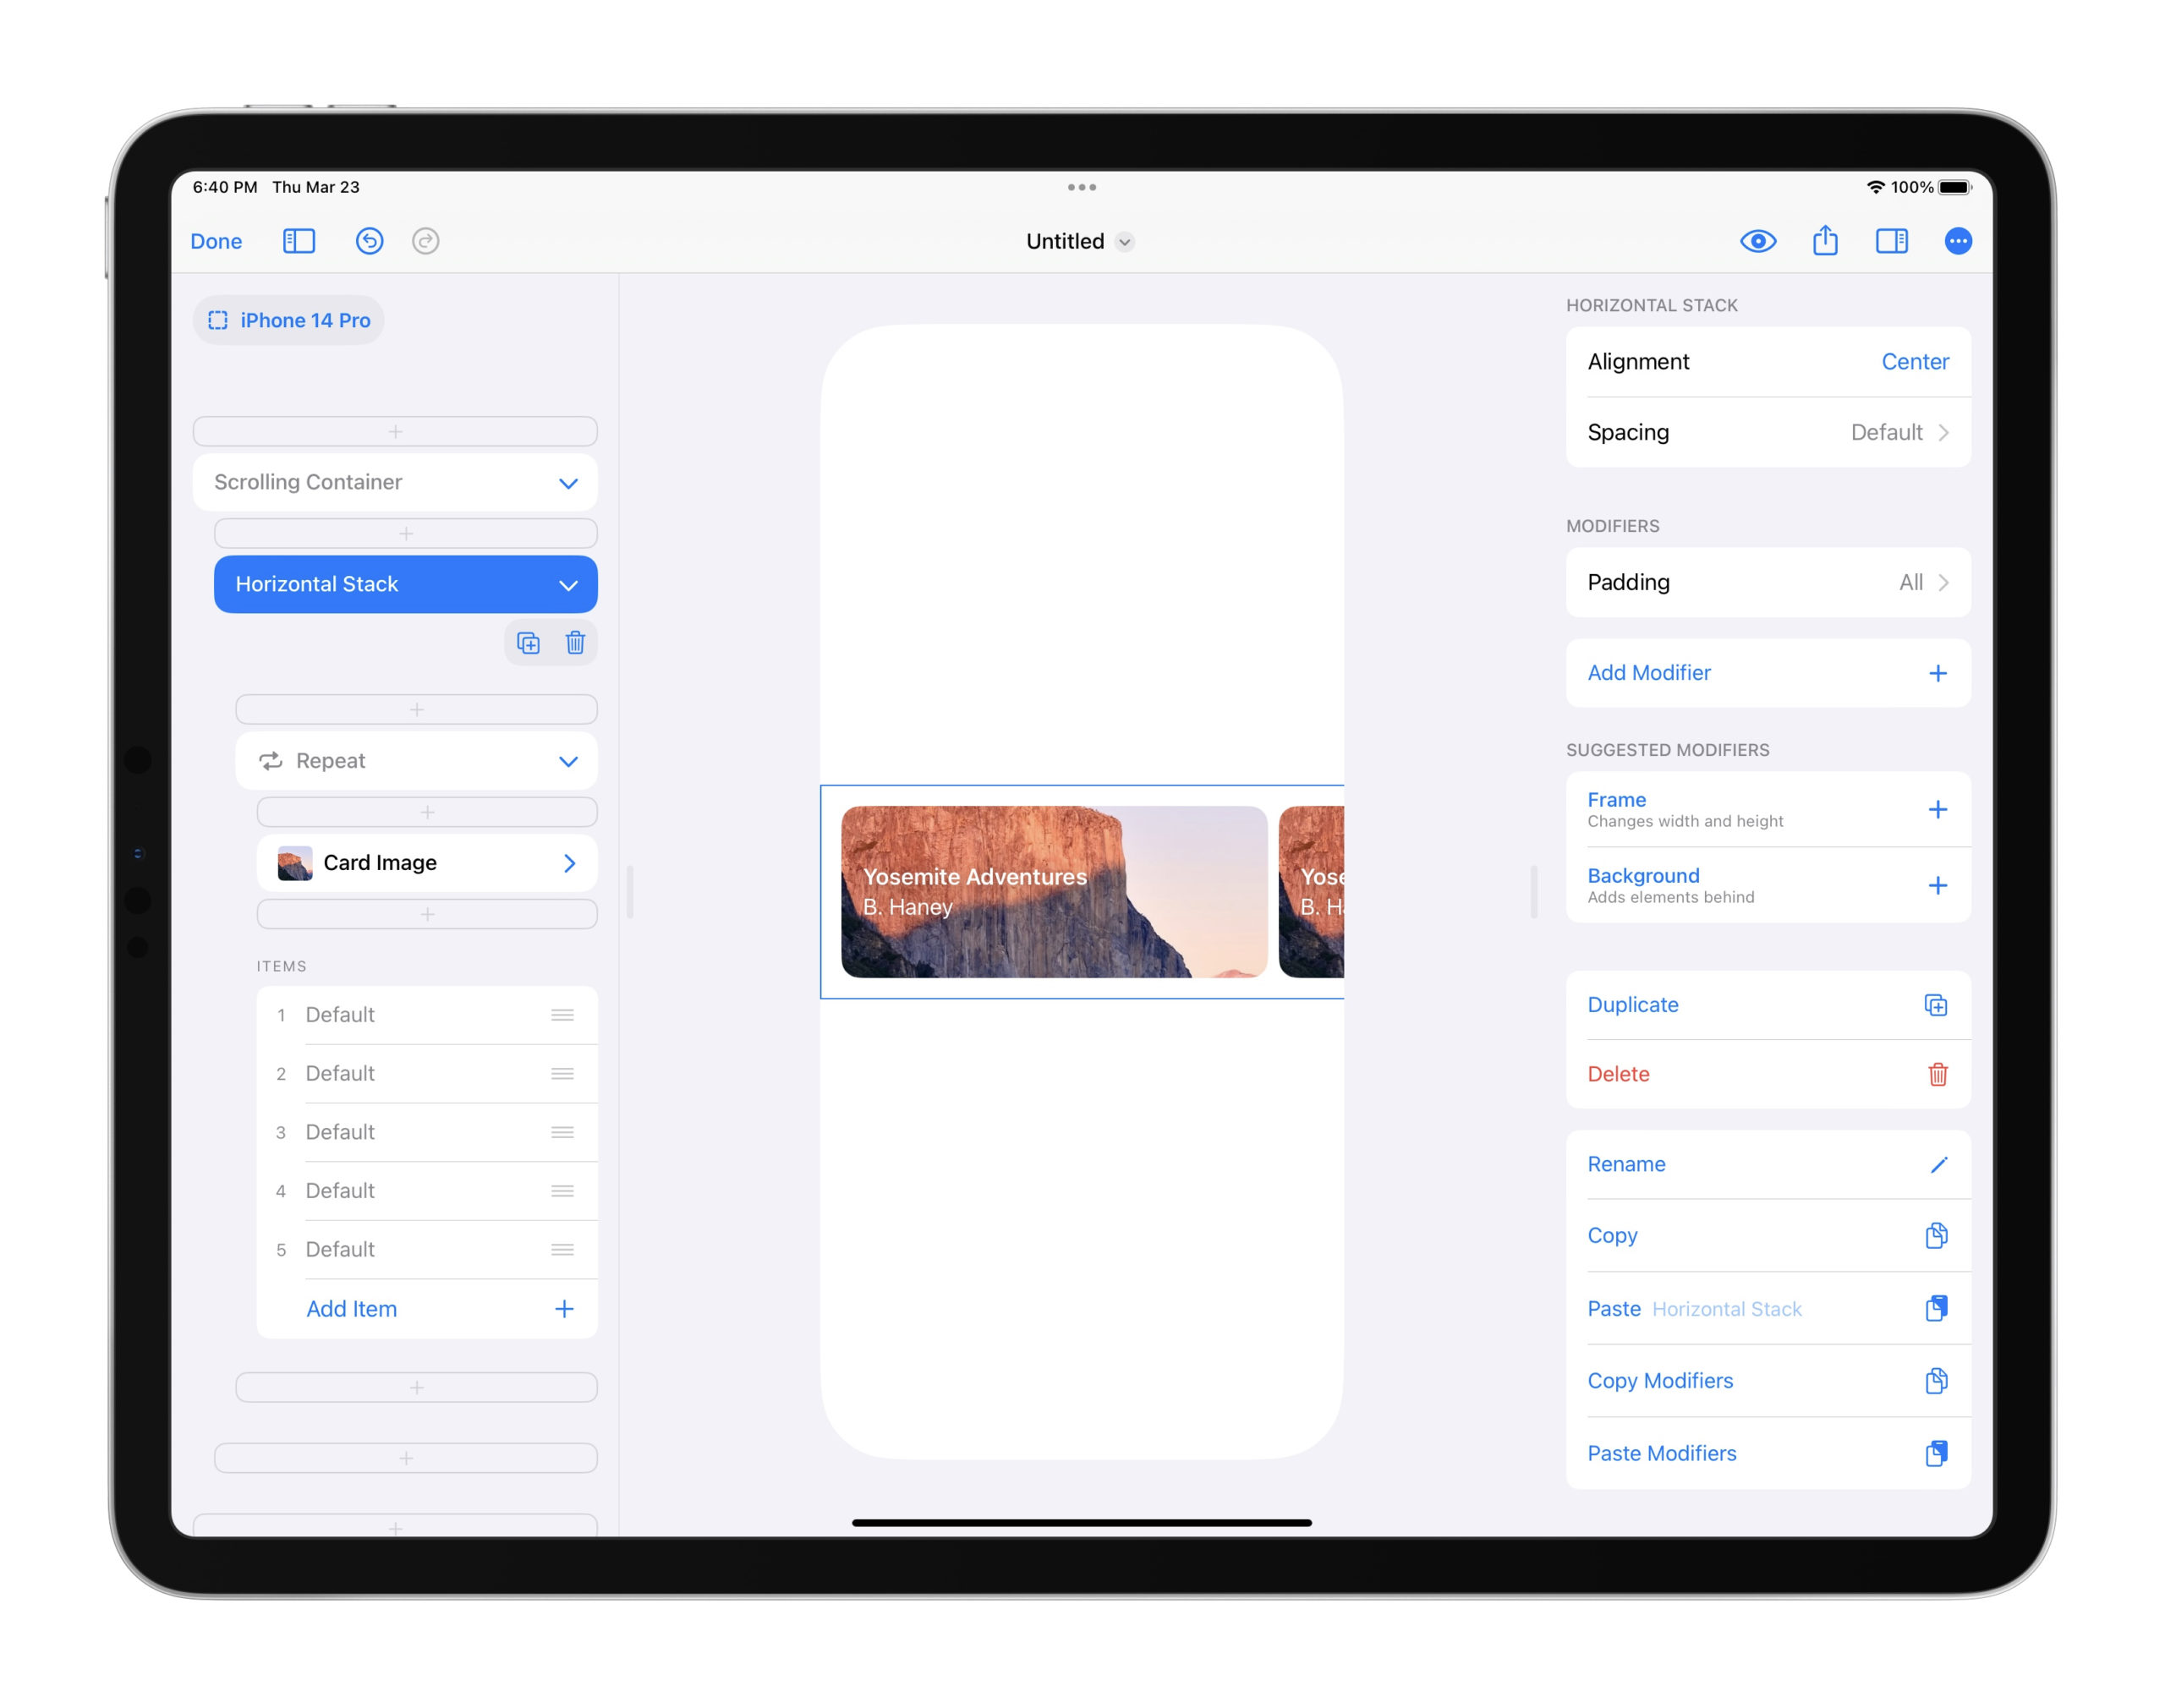
3. Add Padding and Repeat the Card
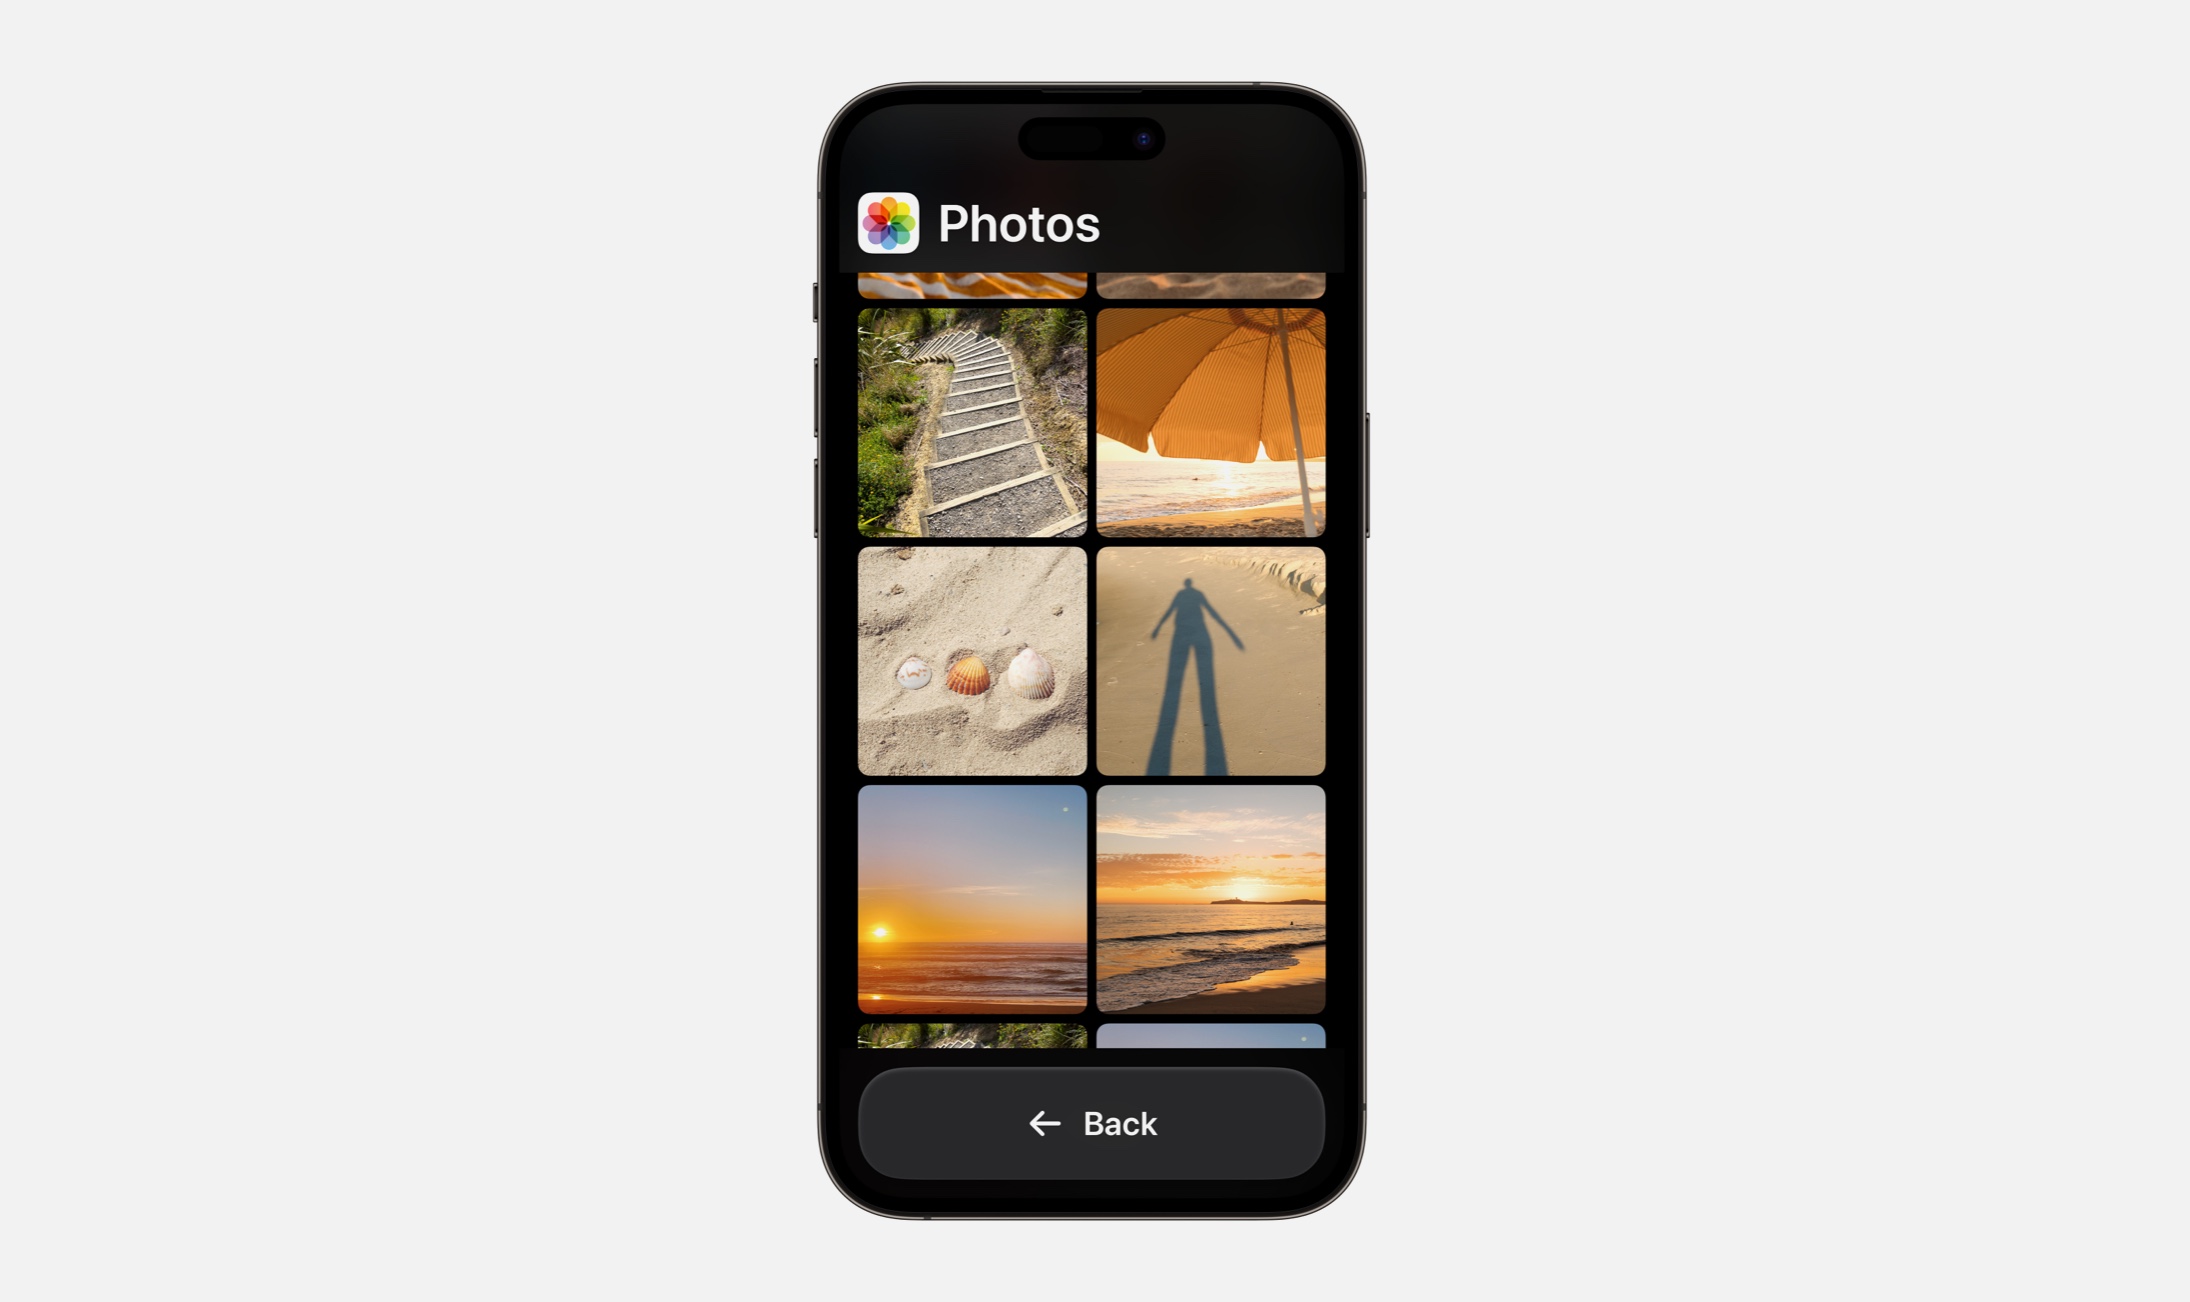
We’ll add a single Padding modifier to our Horizontal Stack to give us a beautiful, uniform spacing from the sides of the device so our scroll starts with a nice offset. Next, we’ll long-press on our card element and tap Repeat to make five cards appear, filling our scrolling row and giving us content to customize. Learn more about repeat here.
4. Done and Ready to Refine!
Now that we’ve got our content scrolling, we can do anything from change up our content in each repeat item to refining the design of our cards themselves. Fine-tune the width, adjust the fonts, and make your design beautiful.
DetailsPro makes it easy to design in SwiftUI and get a carousel ready to go to export into Xcode.